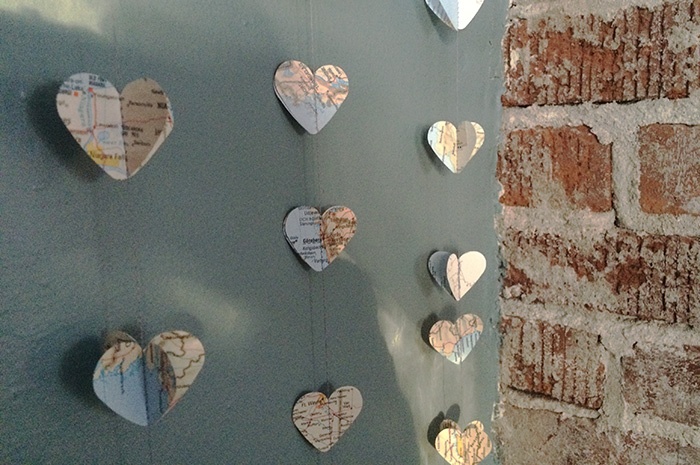
Goodwill stores may not be the first thought in your mind when Valentine’s Day rolls around, but it should be up on the list. Your local store location easily offers date-worthy wear, even if it’s just comfy sweats for a night in. The donation door makes an easy drop-off for a long-procrastinated box of former Valentine’s things that no one wants to claim any longer, and the shelves are full of potential ambiance makers and supplies for sweet DIY gifts.
Those sweet DIY gifts are where this project fits. Swing by the books section and pick up something that is heart-worthy—a book of poems, a children’s book with great illustrations, whatever subject makes your heart go pitter-padder.
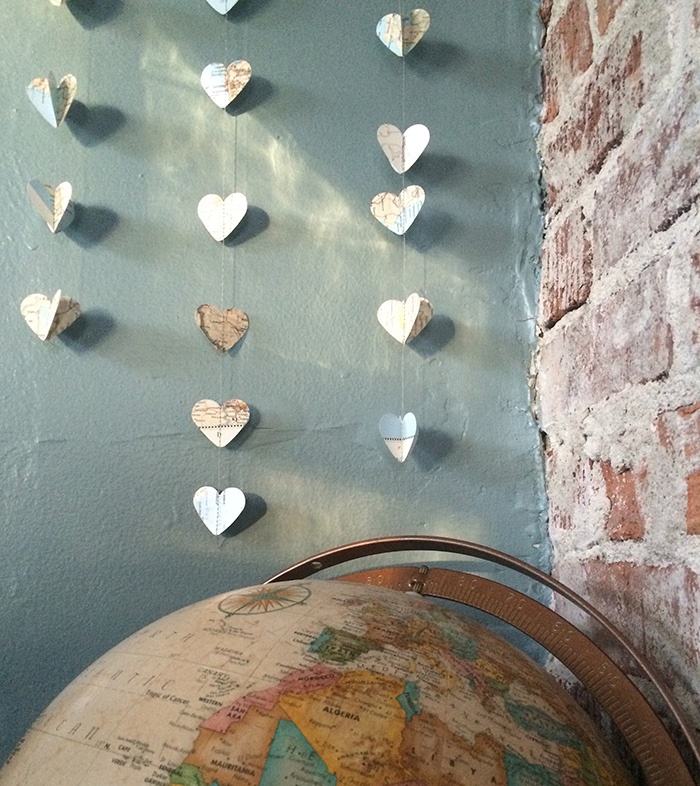
Once a book has been selected, see if there is any thread, yarn or twine in the plastics aisle, if not, that may need to be something to pick up from a craft store. Heart paper punches make cutting the identically sized heart shapes out of your pages much easier, but they aren’t necessary, especially if larger hearts are desired.
Supplies at home—Glue and/or a sewing machine, scissors
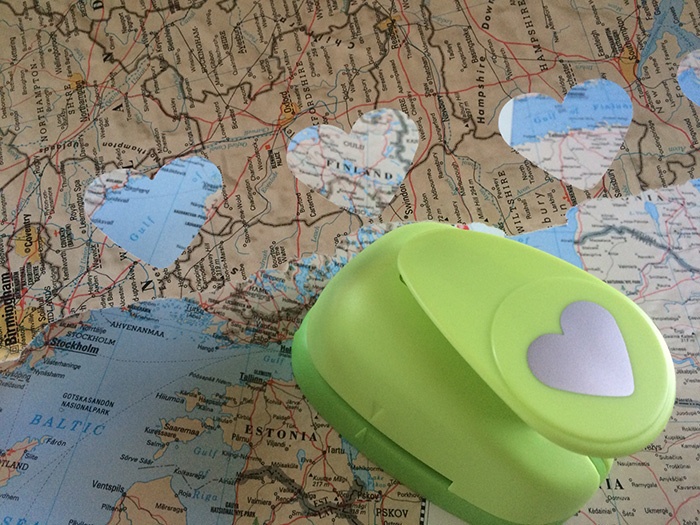
One: Cut an even number of heart shapes out of the book
Using a heart paper punch on an atlas, it was easy to cut out 20 hearts from one page. The number of hearts needed depends on how long of a garland strand is desired and what size of hearts are being cut out. The smaller the heart, the more needed.
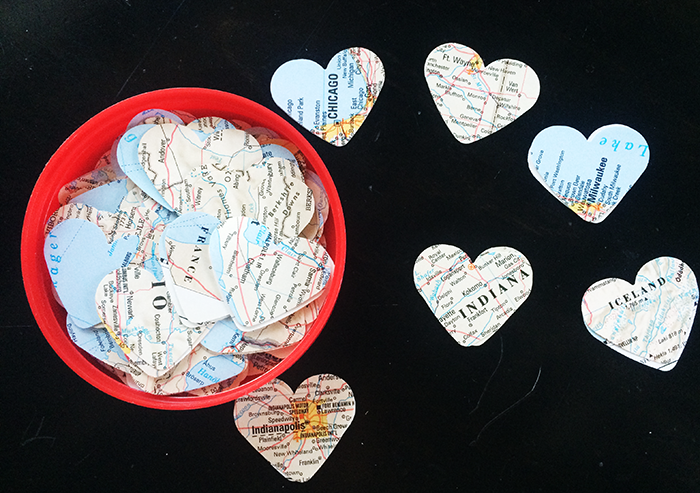
Two: Pair the heart cut-outs up
Decide on a front heart and a back heart. For this i-heart-travel garland, Indiana, Indianapolis, and Fort Wayne were specific locations so those were “front hearts.” Pinning those specific pairs together will make the next step easier. If there is no particular rhyme or reason to the hearts, no need to pin anything.
Three: Sew or Glue
If sewing—set the sewing machine to a single, straight center stitch. Fill the bobbin and thread the machine with sturdy all-purpose thread. Run the first front/back pair of hearts through the machine. Let that heart run out from under the foot and continue “sewing nothing” to create the space between hearts. When the desired distance is achieved, slide the next heart pair in and continue that process until there are no hearts left.
If gluing - set out the desired twine, yarn, or thread and sandwich the heart pair around the yarn at consistent distances. Glue the yarn in the center of the heart pairs. Don’t glue the entire heart, just glue the centers together with the yarn in-between.
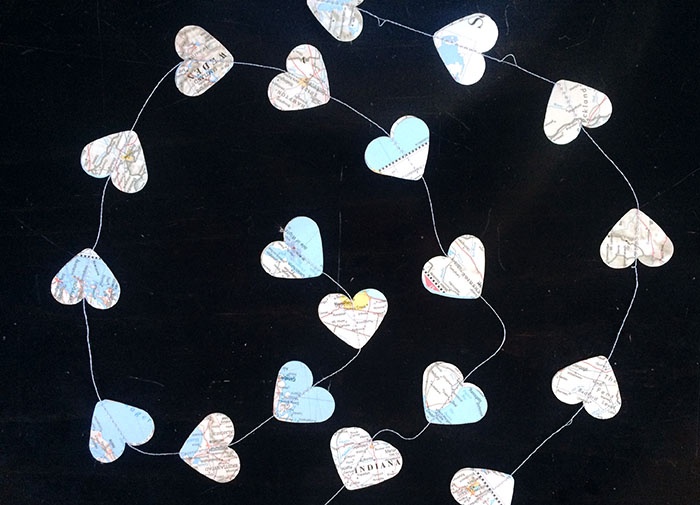
Four: Shaping the hearts
For a 3-dimensional heart garland, gently butterfly fold the hearts. Basically, fold the individual hearts in half allowing them to “butterfly” out from the yarn or thread.
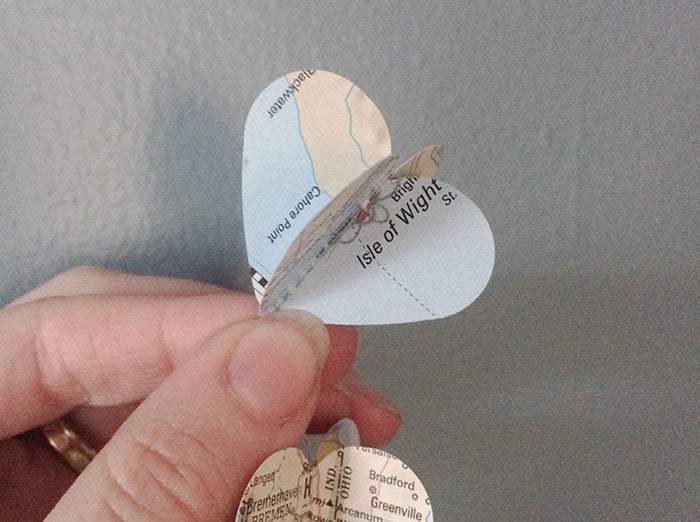
For a flat heart garland - leave them flat, don’t fold anything. It’s ready to hang.
The garland makes a great mantle decor or vertical hang it in a room or over a window for fun look, there is no end to the uses of a good garland.
